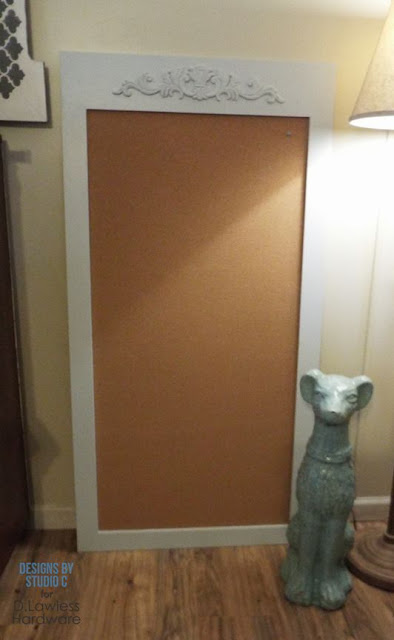
Materials:
·
2’ x 4’ piece of corkboard
·
Adhesive such as Liquid Nails
·
1/2" brad nails
·
1-1/4” pocket hole screws
·
Wood glue
·
Paint or stain/sealer
Tools Needed:
·
Miter saw or Circular saw
·
Drill
·
Pocket hole jig
·
Pneumatic nailer with compressor
Lumber:
·
3 - 1x3 at 4’
·
1 - 1x6 at 4’
·
1 – 4’ x 8’ sheet of ¼” plywood
Cut List:
·
1 – 1x4 at 31” – Frame
·
1 – 1x6 at 31” – Frame
·
2 – 1x4 at 48” – Frame
·
1 – ¼” plywood at 27-1/2” x 50” – Back
Step One
Cut the pieces for the frame. With the pocket hole jig set
for ¾” material, drill pocket holes in each end of the longer 1x4 pieces.
Assemble the frame using glue and 1-1/4” pocket hole screws.
Step Two
Cut the piece for the back. Secure the back over the back
side of the frame using glue and ½” brad nails.
Step Three
With the frame facing right side up, spread adhesive on the
back and position the corkboard on top. If necessary, clamp in place.
Step Four
Secure the appliqué to the top of the frame using glue and
½” brad nails.
Finish as desired. Add hanging wire or a large sawtooth
hanger to the back.


1 comment:
this is gorgeous xx
Post a Comment