Supplies:
·
Scrap 1x12 board at 12”
·
Scrap 1x6 board at 6”
·
Scrap ¾” square dowel rod at 12”
·
2” brad nails
·
1-1/4” brad nails
·
Wood glue
·
Stain and sealer or primer and paint
Tools needed:
·
Jigsaw
·
Pneumatic brad nailer with compressor
Step One
Using the piece for the angled stand rest, draw a diagonal
line across the board from corner to corner. Cut along this line with the
jigsaw. Once the pieces were cut, I stained them prior to assembling the stand.
Step Two
Position the rest pieces on the back of the 1x12 base (the
base leans on the angled portion of each piece), securing in place using glue
and 2” brad nails through the front of the base into the rest pieces. (Use
caution and keep fingers out of the way!)
Step Three
Secure the square dowel to the front of the stand base
approximately 1” up from the bottom using glue and 1-1/4” brad nails.
Step Four
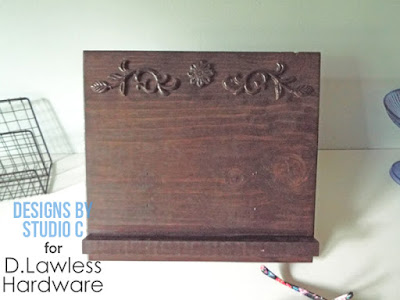
Secure the decorative trim to the front of the square dowel
using glue. If using the decorative wood appliqués, they can be secured using
glue at the top edge of the 1x12 base.
Aren’t they great? This easy to make tablet stand can be
customized in so many other ways – it can be decoupaged with photos, stenciled,
painted or just left plain!
This is an easy project that would make a great gift, and
several can be made over the course of a weekend! Until next time…


No comments:
Post a Comment